How to Use GetGlow.ai: Complete Beginner’s Guide

Introduction
Artificial intelligence has made automation much easier, but creating useful workflows can still feel complicated when different apps, triggers, actions, and AI tools need to work together.
Thank you for reading this post, don't forget to subscribe!GetGlow.ai, commonly referred to as Glow, is designed to simplify that process. The platform allows users to build automated workflows that connect different apps and services, move information between them, and add AI-powered steps where needed.
According to Glow’s official documentation, a workflow is a series of automated steps that moves data or tasks between apps, people, or systems to achieve a specific outcome. Users can create these workflows through Glow’s visual canvas by adding and connecting different steps.
If you are completely new to the platform, this guide explains how to use GetGlow.ai, from creating your first workflow to connecting apps, adding AI, testing your automation, and improving it.
What Is GetGlow.ai?
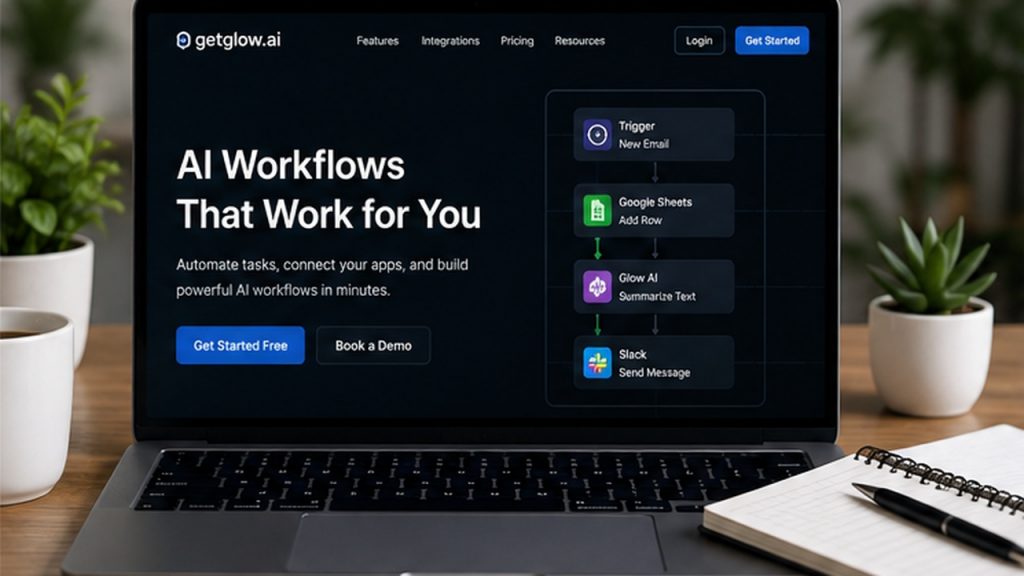
GetGlow.ai is an AI workflow automation platform designed to help businesses and teams automate repetitive processes.
Instead of manually moving information between different applications, users can create a workflow that performs those steps automatically.
For example, a workflow could:
- Detect a new file.
- Read or process the information.
- Use AI to create a summary.
- Save the result somewhere else.
- Notify a team member.
Glow’s homepage currently presents the platform as a way to build production-ready automations quickly, including workflows involving tools such as Google Drive, Notion, communication platforms, and other business applications.
How to Get Started With GetGlow.ai
The easiest way to start is through the official GetGlow.ai platform.
Glow provides a free signup option, so beginners can start exploring the platform before deciding whether they need a paid plan. Its current pricing page lists a Free plan with 400 credits per month, unlimited workflows, unlimited storage, and unlimited seats.
After creating an account, the next step is to understand the workflow canvas.
Understanding the Glow Workflow Canvas
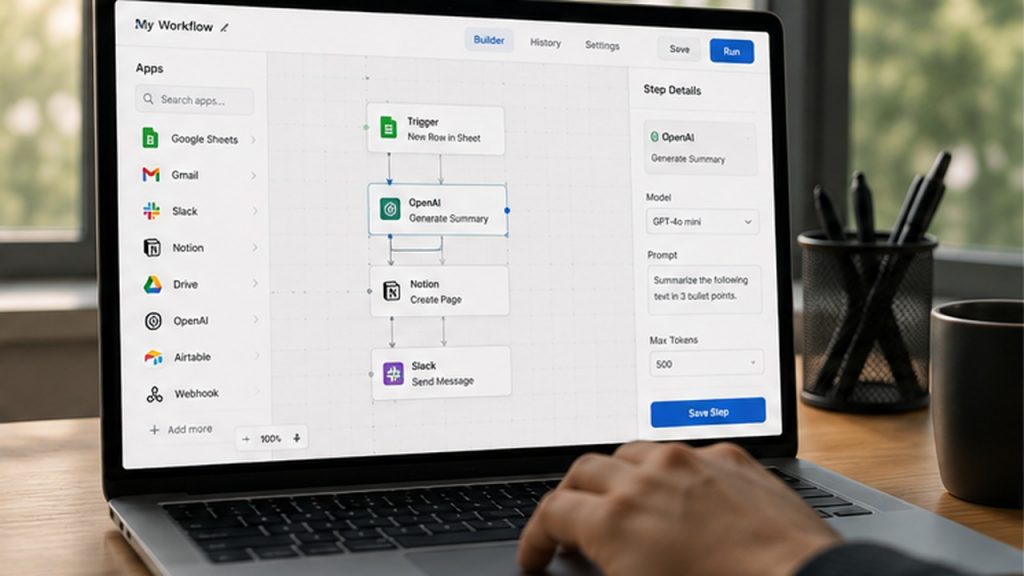
The canvas is the main area where workflows are created.
Think of it like a visual flowchart. You place different steps on the canvas and connect them together so information can move from one step to another.
The official documentation identifies several important parts of the Glow interface, including the canvas and dock. The dock provides access to triggers, apps, AI, flow controls, data tools, developer tools, and utilities.
This visual approach makes it easier to understand what happens inside an automation.
Step 1: Choose a Trigger
Every useful automation needs something that starts it.
In Glow, this starting point is called a trigger.
A trigger could be an event such as receiving new information, adding a file, or another supported event inside a connected application.
According to Glow’s documentation, triggers normally appear at the beginning of a workflow and start the automation when a specified condition occurs.
For a beginner workflow, think about a simple question:
“What should cause my automation to start?”
Once you know the answer, you can select the appropriate trigger.
Step 2: Connect Your Apps
After choosing a trigger, you can add the application or service that needs to participate in your workflow.
Glow describes third-party applications as apps that can be authorized and connected to the platform. Its documentation says the platform supports more than 2,500 integrated apps, while the current homepage advertises more than 3,100 connections.
The exact available options can change, so it is best to check Glow’s current connection directory when building a workflow.
Once an app is connected, Glow can use its supported actions inside your workflow.
Step 3: Add Actions
A trigger starts the workflow, while an action tells Glow what to do next.
For example, if a new file triggers your workflow, an action might process that file or send information to another application.
Glow’s documentation explains that actions are instructions carried out within an authenticated app or through special workflow, data, or AI functions.
You can continue adding actions until the workflow performs the complete task.
Step 4: Add Glow AI
One of the most useful features for people searching for how to use GetGlow.ai is the ability to add AI into workflows.
Glow provides a Glow AI step that can be added to workflows. The official documentation explains that the AI itself is free, although executing the AI step consumes a workflow credit like other executed steps.
For example, AI could be used to:
- Summarize text
- Create a draft
- Classify information
- Transform content
- Extract useful information
- Process incoming data
The important idea is that AI becomes one step inside a larger workflow instead of being the entire automation.
Step 5: Connect Your Steps
Once your trigger, app actions, and AI steps are ready, connect them together.
Glow uses links between workflow steps to determine how the process moves forward. The documentation describes these links as the lines that connect individual steps and control the flow of the automation.
A simple workflow might therefore look like:
Trigger → App → AI → App → Notification
This structure makes the automation easier to understand and troubleshoot.
Step 6: Test Your Workflow
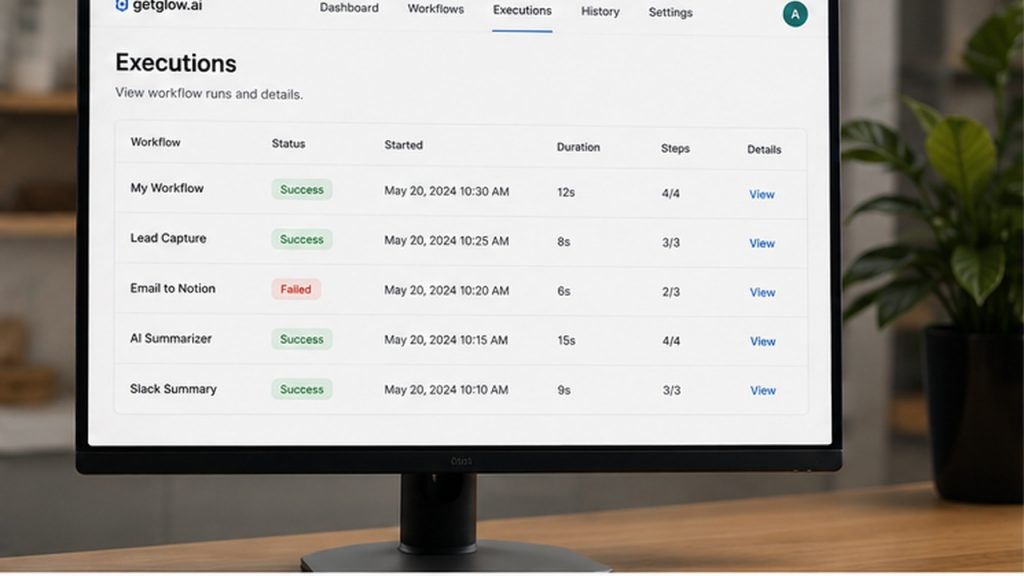
Before relying on an automation, test it.
Glow’s documentation includes testing and debugging as part of its beginner workflow guide. The platform also provides workflow controls for running workflows from the interface.
Testing helps you identify problems such as:
- Missing information
- Incorrect app connections
- Wrong field mappings
- Unexpected AI output
- Incorrect workflow conditions
Do not assume an automation works correctly just because the workflow looks right visually.
Step 7: Use Human Approval When Needed
One useful feature highlighted on Glow’s current website is human-in-the-loop approval.
This allows a person to review, refine, or approve certain workflow results before the process continues. Glow specifically presents approval checkpoints as a way to help catch AI errors and review important outputs.
This can be particularly useful when an AI-generated result should be reviewed before it is sent, published, or used in another system.
Step 8: Explore Glow Templates
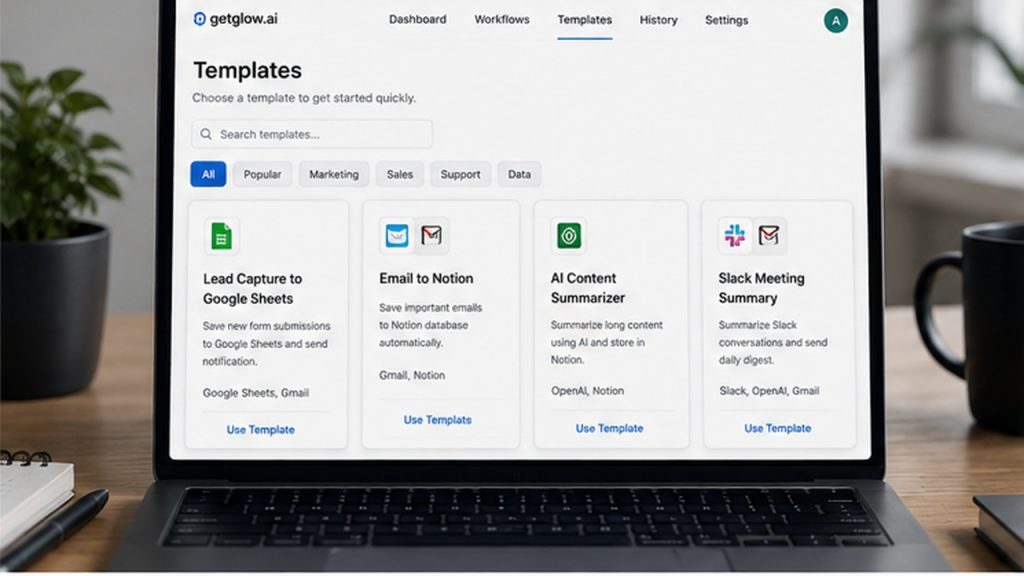
If building a workflow from scratch feels overwhelming, templates can provide a simpler starting point.
Glow’s documentation includes templates as reusable workflow blueprints that can be shared with the community.
Instead of designing every step yourself, you can start with an existing workflow and adapt it to your requirements.
This is particularly helpful for beginners who want to understand how a complete automation is structured.
A Simple GetGlow.ai Workflow Example
Imagine you want to automatically create a weekly report.
A basic workflow could be:
New file detected → Extract information → Glow AI summarizes it → Save summary → Notify team
The first step detects the new file.
The next step processes the information.
Glow AI can then create a summary.
Another app can store that summary, and the final action can notify the appropriate person or team.
The exact steps will depend on which applications you connect and what you want the automation to accomplish.
GetGlow.ai Pricing
Glow currently offers several pricing options.
The official pricing page lists a Free plan at $0 per month with 400 credits, unlimited workflows, unlimited storage, and unlimited seats. The Pro plan is currently listed at $55 per month with 25,000 credits, while Enterprise and Consultancy options are available with custom pricing.
Because pricing and included features can change, check the official Glow pricing page before making a purchasing decision.
Tips for Using GetGlow.ai Effectively
The best way to learn Glow is to start with a small workflow rather than trying to automate an entire business process immediately.
Start with one clear problem.
Then identify:
What starts the workflow?
What information needs to move?
Which app should receive the information?
Where could AI save time?
Does a human need to approve the result?
Once the basic workflow works correctly, you can add more steps and conditions.
This approach makes debugging easier and helps prevent unnecessarily complicated workflows.
Final Thoughts
Learning how to use GetGlow.ai becomes much easier once you understand its basic workflow structure.
The platform revolves around a simple concept: choose a trigger, connect your applications, add actions, use AI where it provides value, connect the steps, and test the complete workflow.
Glow’s visual workflow system is designed to make automation understandable without requiring every user to build integrations from scratch. Its documentation also provides beginner resources covering fundamentals, app connections, AI, testing, utilities, templates, and advanced examples.
For beginners, the best approach is to start small. Build one useful automation, test it carefully, and then expand it as you become comfortable with the platform.
FAQs
What is GetGlow.ai?
GetGlow.ai, also known as Glow, is an AI workflow automation platform for connecting apps, automating tasks, and adding AI-powered steps to business workflows.
How do I start using GetGlow.ai?
Create an account through the official Glow website, then create a workflow and begin by selecting a trigger. You can subsequently add apps, actions, AI steps, and workflow logic.
Is GetGlow.ai free?
Yes. Glow currently offers a Free plan with 400 credits per month. Its pricing page also lists paid plans with higher credit allowances.
What is a workflow in Glow?
A workflow is a sequence of connected automated steps that moves data or tasks between applications, people, or systems.
What is a trigger in GetGlow.ai?
A trigger is the event or condition that starts a workflow. It generally appears at the beginning of an automation.
Can I use AI in Glow workflows?
Yes. Glow provides a Glow AI step that can be added to workflows for AI-powered processing.
Can GetGlow.ai connect to other apps?
Yes. Glow supports thousands of app connections. Its official documentation says more than 2,500 apps are integrated, while the current website advertises more than 3,100 connections.
Does Glow have workflow templates?
Yes. Glow provides templates that can be used as workflow blueprints and adapted for different automation needs.